

When you're using night vision to navigate at night, whether checking your property, tracking wildlife, or moving through unfamiliar terrain, streetlights, headlights, and uneven shadows can make important details disappear or hide movement. Traditional image-intensifier night vision systems struggle with these mixed-lighting conditions.
100Hz digital night vision monocular handles these challenging environments differently. By combining a sensitive sensor with low-latency image processing, digital systems actively manage brightness and contrast. Because the system captures and processes the scene as a digital signal, digital night vision can also record what you see, something traditional systems cannot do.
But how does this digital process actually work, and what determines its performance? This guide provides a detailed look at the core factors involved.
The Evolution of Seeing in the Dark
Night vision technology began with tube-based (analogue) night vision systems that amplify available light and display it as a green image on a phosphor screen. In completely dark environments, these traditional systems remain effective and comfortable for extended viewing sessions.
However, these tube-based systems have inherent limitations. They struggle with mixed lighting conditions, such as when streetlights or headlights create bright spots in an otherwise dark scene. They also cannot record what you see, and strong light exposure can damage the tube. As night vision expanded from military to civilian use, these limitations became more apparent.
Digital night vision addresses these challenges through a fundamentally different approach. Instead of amplifying light through a tube, digital systems capture the scene with a sensor and process it as a digital signal. This allows the system to handle varying brightness levels, record footage, and operate safely from daylight to complete darkness. These capabilities have made digital night vision increasingly practical for property monitoring, hunting, wildlife observation, and other civilian applications.

Night Vision Goggles DNVS-14 Pro
How Digital Night Vision Works
To understand how digital night vision delivers a usable image in low light, you need to look at three core components: the sensor, the processing unit, and the display. Each plays a distinct role, and a weakness in any one component will limit the entire system's performance.
Sensor: Capturing Usable Low-Light Detail
The sensor is responsible for gathering light and converting it into a digital signal. Modern digital night vision uses high-sensitivity CMOS sensors that can detect very low light levels. More importantly, better sensors maintain separation between objects and their backgrounds, which is critical for identifying what you're looking at, not just detecting that something is there.
When ambient light drops to extremely low levels, even sensitive sensors need help. Infrared illuminators provide help by emitting invisible light that the sensor can detect. However, IR light behaves differently from visible light. Reflective surfaces like water, glass, or wet pavement can bounce IR light directly back into the lens, creating glare. Your viewing angle and distance from reflective surfaces affect how well IR works, so positioning matters as much as IR power.
Processing: Turning Raw Data into a Readable Scene
Raw sensor data needs processing before it becomes useful. The processing unit handles several critical tasks:
- It prevents shadow details from collapsing into uniform gray areas
- It controls bright highlights so headlights or streetlights don't wash out the entire image
- It maintains edge contrast so you can distinguish shapes and outlines while scanning
Without effective processing, even a high-quality sensor won't produce a clear, usable image.
Display: Where Image Quality Meets User Comfort
The display is what you actually see, and its performance directly affects how your eyes and brain process the scene. If the display has low refresh rates or processing delays, motion will appear choppy or laggy. This forces your brain to work harder to interpret what you're seeing, which increases eye strain and reduces your ability to track movement smoothly. A responsive, high-quality display makes navigation and scanning feel natural.

Digital Sensors vs Traditional Analog Tubes: What You’ll Notice in Real Use
Understanding how digital night vision works is helpful, but comparing it to traditional systems in actual use shows where the differences matter. The distinctions become clear in how motion feels, how each system handles mixed lighting, and how much care they need around bright light.
Motion Feel During Scanning
Tube-based systems respond immediately and continuously when you move. Many people like how natural they feel during scanning.
Digital night vision depends on refresh rate and processing speed. Strong digital systems feel stable and responsive. Weak ones can feel delayed during quick head turns.
Behavior in Mixed Lighting
Urban and roadside environments often combine bright light sources with deep shadows. This creates a difficult contrast.
Traditional tube systems struggle with these extremes. A bright headlight or porch light can wash out the surrounding image.
Digital systems handle this better. They control bright highlights and preserve darker detail at the same time. This makes them easier to use around headlights, porch lights, or bright signage.
Practical Care and Habits
Analog tube devices require caution around bright light exposure. Suddenly bright light can damage the tube.
Digital systems generally don't have this problem. They are much tougher and won't break if exposed to light. You can move between light and dark environments without worry. While you still need to protect the lenses, everyday use is much simpler.
Image Clarity in Practice
Clarity in night vision means more than a single number. In real use, it includes:
- Clean images in dark areas without excessive graininess
- Sharp edge definition and contrast
- Stable image during movement
- Comfort after 10 to 20 minutes of use
Why You Can Use Digital Optics During the Day
Daytime flexibility is one of the most practical advantages of digital night vision. Traditional tube-based devices can be damaged by strong light exposure, which is why many users keep them in a strict night-only routine.
Digital systems don't rely on an intensifier tube, so they avoid that specific damage risk. This allows more natural use patterns throughout the day, from daylight observation through dusk transitions to nighttime viewing, and easy movement between indoor and outdoor spaces.
While digital systems won't suffer tube damage from bright light, you should still use common sense. Avoid pointing the device directly at the sun or other intense light sources, as this can affect sensor performance or cause temporary image washout. When not in use, keep the lens cap on to protect the optics from dust and scratches.

How to Choose Digital Night Vision with Recording Capabilities
Recording capability is a major advantage of digital night vision. It supports real-world needs like reviewing activity, improving training, and documenting wildlife. But in real use, recording quality goes beyond resolution specs. What matters is how quickly you can start recording, how the device manages files, and whether image quality stays consistent once recording begins.
Key features to evaluate:
- Fast access to record controls: Things happen quickly at night. If starting a recording takes too many steps, you'll miss the moment.
- Simple file handling: Look for devices that organize recordings clearly and make it easy to transfer files to your computer or phone. Good file management saves time during review sessions.
- Stable performance while recording: Some devices display smooth images until you start recording, then the frame rate drops or lag appears. The image should remain fluid and responsive even when recording is active.
- Battery impact: Video recording and wireless features increase power consumption. Factor this into your battery planning, especially for longer sessions or cold weather use.
Here's a quick reference for evaluating recording features:
| Recording check | Why it matters |
| One-touch start | Captures sudden movement |
| On-device playback | Confirms details quickly |
| Easy export workflow | Reduces post-session hassle |
| Consistent smoothness | Avoids lag while filming |
Practical Applications Beyond Tactical Use
Digital night vision serves a wide range of civilian and professional uses. The following scenarios show where recording capability and flexible lighting performance provide the most value.
Hunting and Pest Control
In hunting and pest control, the most important job of night vision is positive identification: knowing exactly what you are looking at before you act. In cluttered terrain where shadows hide movement, digital night vision helps separate animals from background detail and reduces the chance of misidentification. Recording further supports responsible use, allowing users to review what they observed for learning, documentation, or verification.
Property Monitoring and Outdoor Routines
Property owners use digital night vision for regular security checks, including fence and gate inspections, monitoring animal movement near buildings, and checking equipment in low light. The ability to move freely without external lighting makes these routines faster and less disruptive, while recording provides documentation if something unusual appears.
Wildlife Observation
Researchers and enthusiasts benefit from digital night vision's quiet, non-intrusive operation. With proper mounting and minimal infrared supplemental lighting, these systems enable extended observation sessions that avoid disturbing natural animal behaviors. Recording lets observers review details and share findings without relying on memory or field notes alone.
Emergency and Professional Use
Search and rescue teams, security professionals, and emergency responders value digital night vision for reliable low-light navigation and situational awareness. Recording capabilities create critical documentation for incident reviews, evidence collection, and training purposes.
Different applications demand different performance priorities. The next section breaks down the key technical metrics that determine whether a device fits your specific use case.

Critical Performance Metrics You Should Know
Understanding applications is one thing. Evaluating specific devices is another. Whether you're monitoring property, tracking wildlife, or supporting emergency operations, certain performance metrics will determine whether a device truly fits your needs. The specifications below directly affect how digital night vision performs in the real-world scenarios we just covered.
Refresh Rate
Refresh rate determines how smoothly motion appears on the display. Higher refresh rates, such as 100Hz, deliver smoother motion than 60Hz or 30Hz, which matters during rapid scanning, walking, or vehicle-mounted use. For stationary observation, lower refresh rates may be acceptable, but for active movement, look for at least 60Hz.
Latency
Latency is the time lag between your movement and what the display shows. Even a slight delay can make scanning feel disconnected, especially during quick head turns or while walking. Lower latency keeps the image responsive and helps you stay oriented, which reduces fatigue and improves control. Latency under 20 milliseconds is generally imperceptible in normal use.
Field of View
A wider field of view makes navigation and situational awareness easier because you can take in more of the scene at once. A narrower field of view makes distant targets appear larger and easier to examine, but it often feels restrictive when moving. Choose based on whether your priority is mobility and awareness, or detailed observation at range.
Lens Aperture (F-Number)
The F-number describes how much light the lens can deliver to the sensor. Lower F-numbers allow more light in, which can improve performance in low-light conditions. However, real performance depends on the entire imaging system, including lens quality, sensor sensitivity, and image processing. Evaluate F-number alongside these other factors rather than treating it as a standalone indicator.
Detection Range vs Identification Range
The thermal sight detection range is the distance at which you can tell that something is present. IOL25's identification range is the distance at which you can confidently determine what it is. For example, you might detect a person at 200 meters but only identify them clearly at 100 meters. For real-world decision-making, that 100-meter identification range is what truly counts, making it the more meaningful benchmark when comparing devices.
Which Device Type Fits Your Use Case
Performance specifications tell you what a device can do. The physical form factor determines how you'll use it. Digital night vision comes in different physical types: monoculars, helmet mounts, and goggles. The type you choose affects comfort, mobility, and how you use your hands during operation. Picking the right device type can matter just as much as technical specifications.
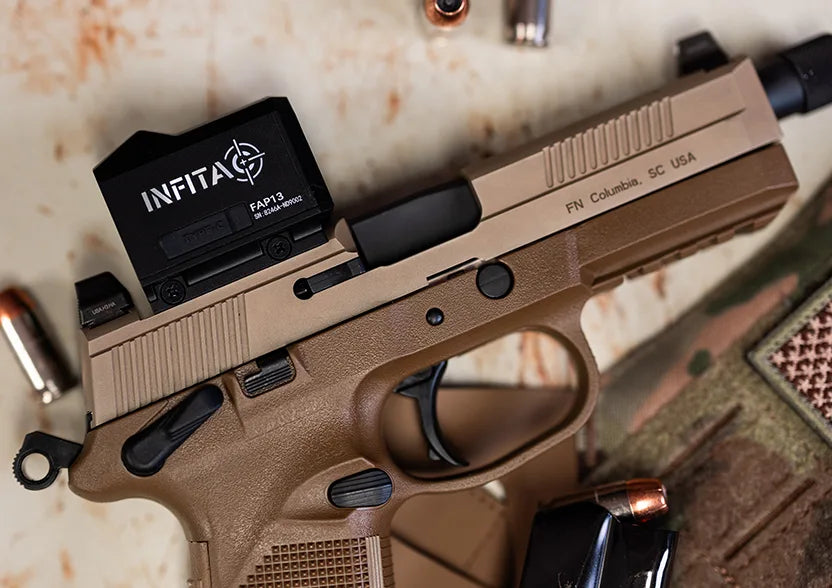
Digital Night Vision Monocular
A digital night vision monocular is a handheld device you hold up to one eye. It offers strong flexibility:
- Easy to carry in a pocket or bag
- Easy to pass to another person
- Good for observation and routine property checks
- Can be mounted on a helmet or tripod with the right accessories
It fits most outdoor and property use cases without adding too much complexity.
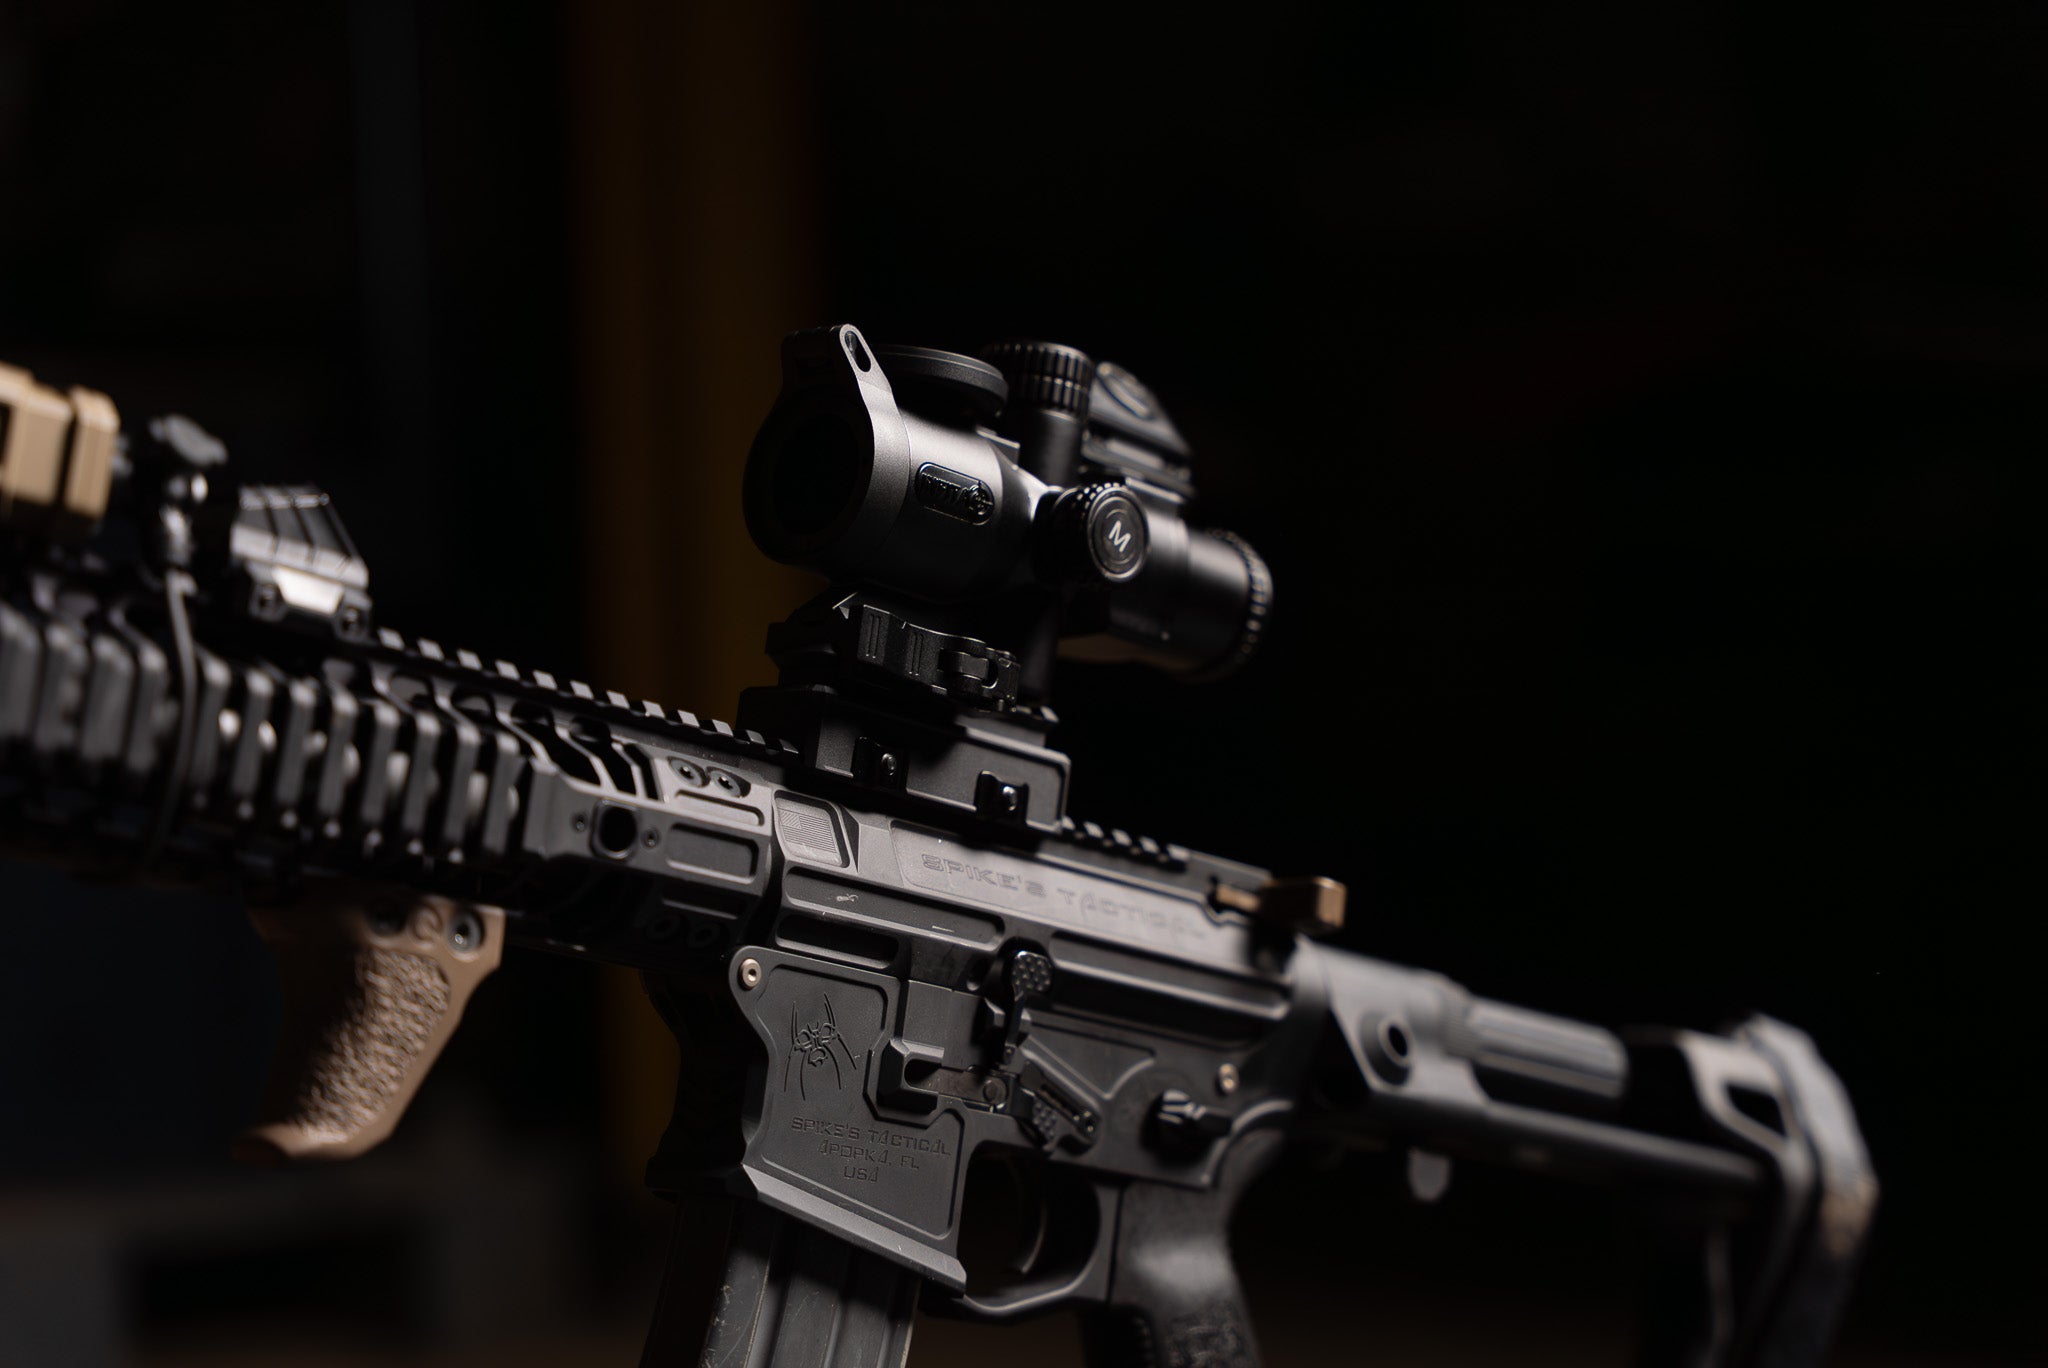
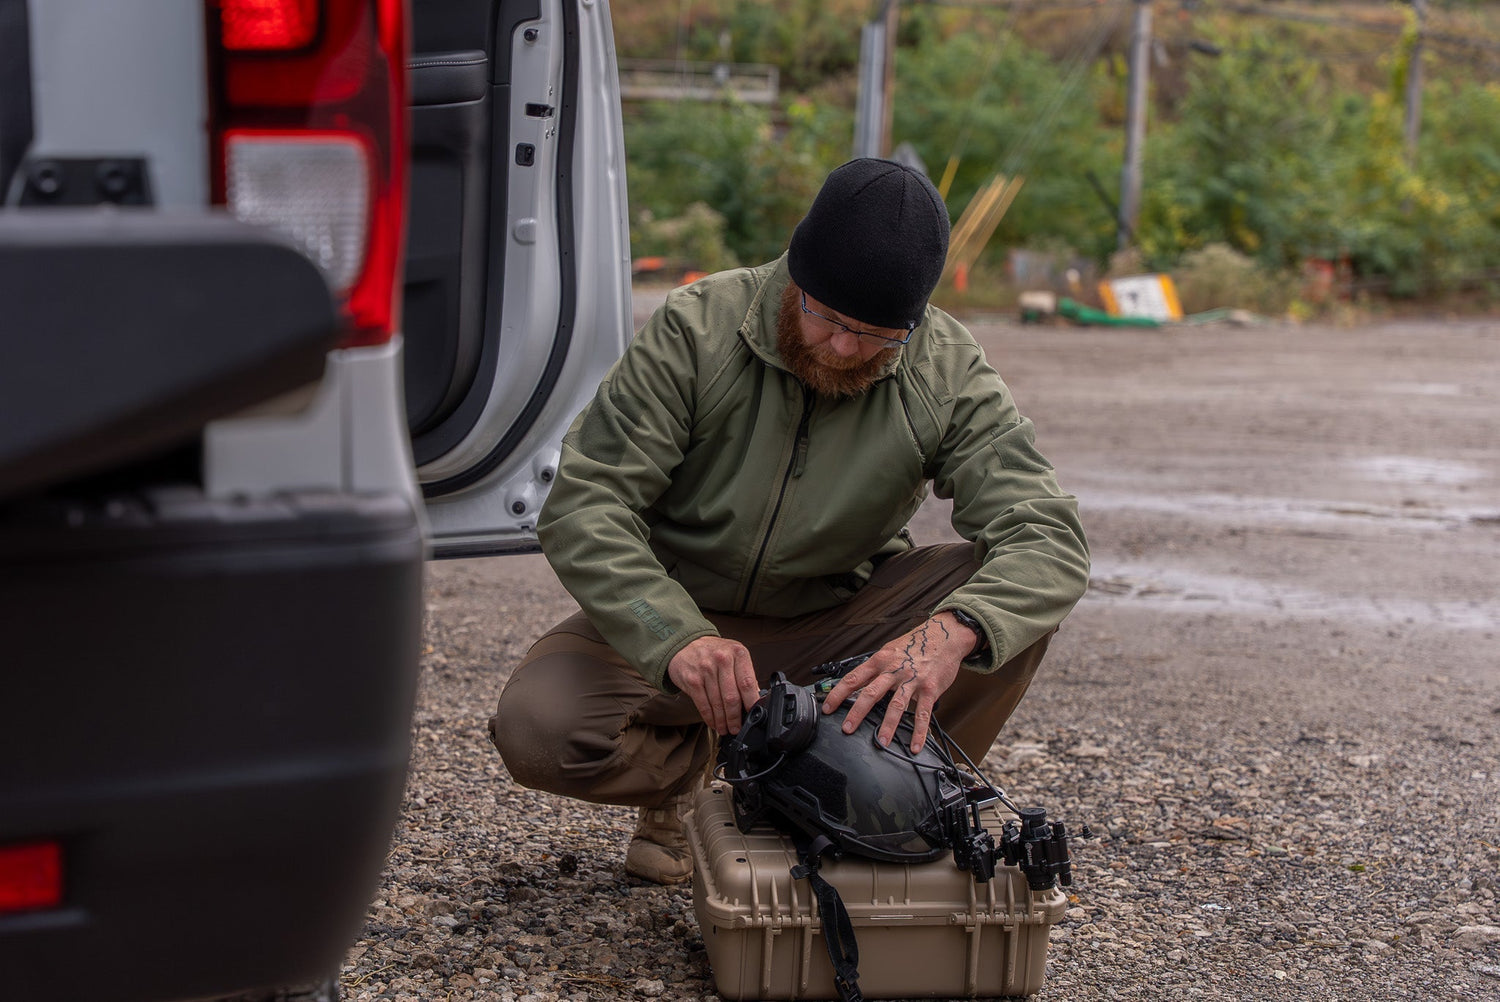
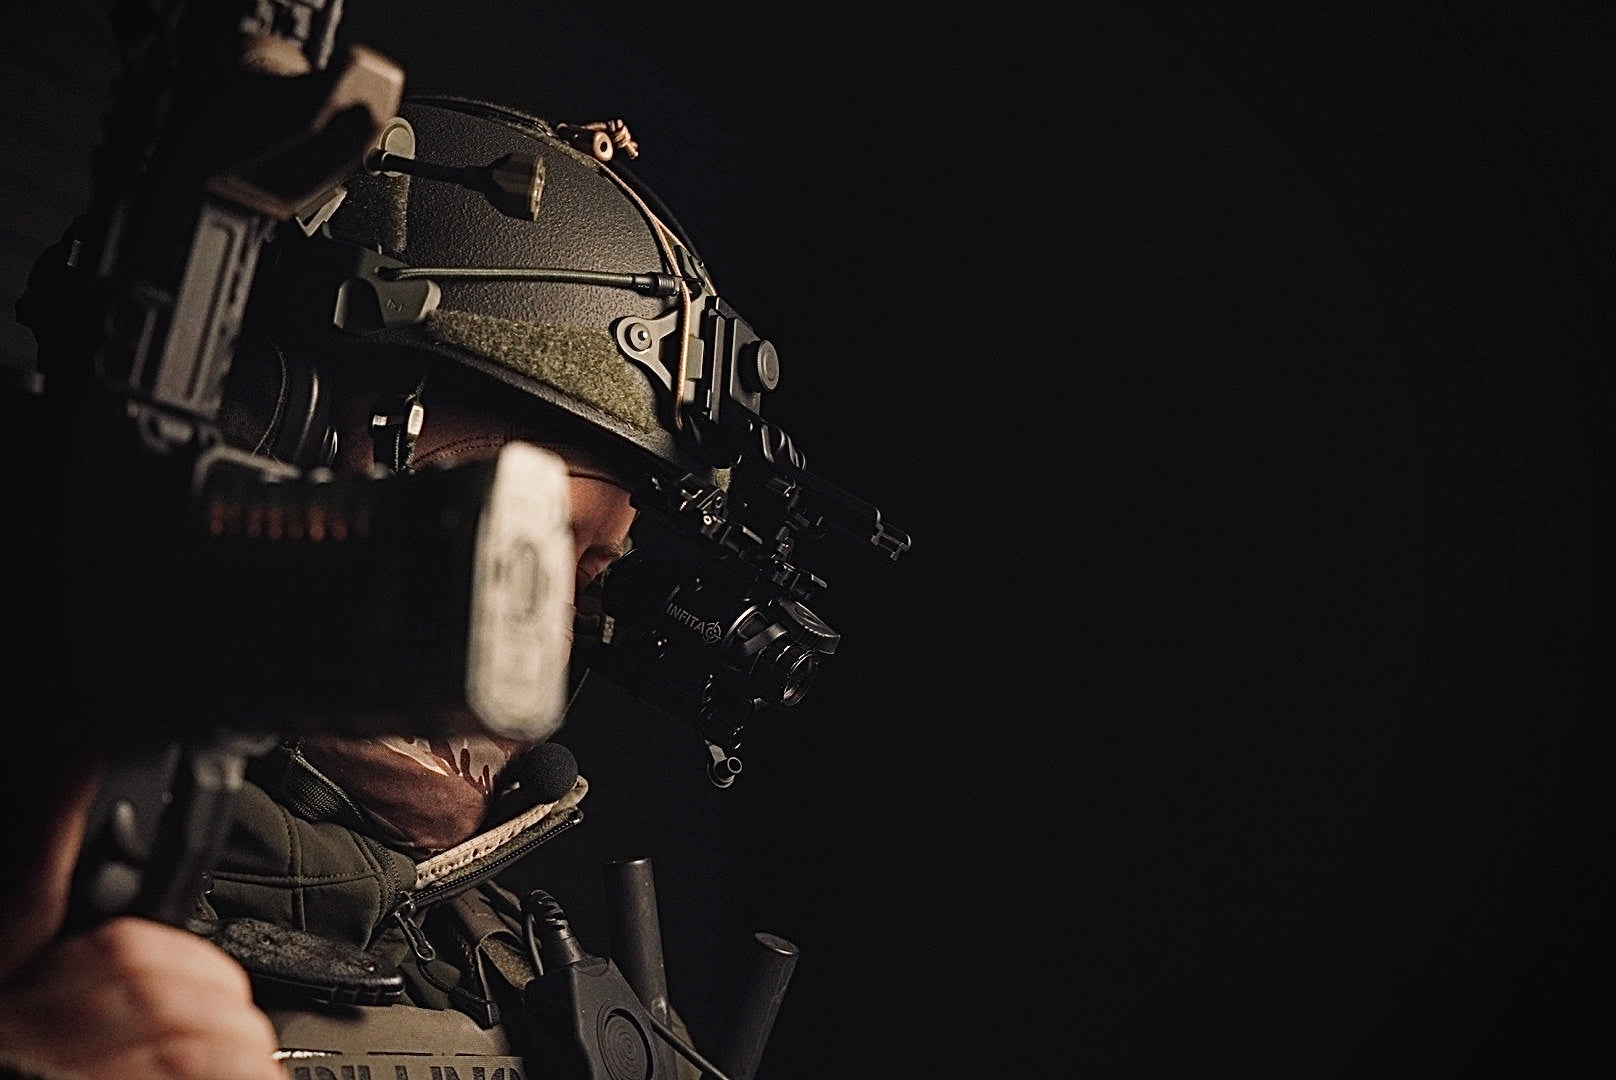
Digital Night Vision Helmet Setup
A helmet setup attaches the device to your head, leaving both hands free. It works well when you need to:
- Use tools or handle gear while viewing
- Hike, climb, or move actively through terrain
- Maintain visibility while performing tasks
Because the device stays on your head during movement, weight and comfort become critical factors when choosing a helmet setup.
Night Vision Goggles
DNVS-14 Pro night vision goggles engage both eyes simultaneously, which can feel more natural for extended navigation and reduces eye strain during long sessions. However, goggles typically cost more and add more weight than monoculars. Many users start with a monocular to build experience, then upgrade to goggles when their use patterns clearly benefit from binocular vision.
How to Select the Best Night Vision That Fits Your Needs
You now understand the technology, the performance metrics, the device types, and the common applications. The final step is balancing these factors against your budget and specific needs. Here's how to prioritize:
- Image usability in your lighting conditions: Match sensor performance to your typical environment. If you mainly work in rural darkness, prioritize sensor sensitivity. If you operate in mixed urban lighting, prioritize processing capability. Real-world clarity in your conditions matters more than lab specs.
- Comfort for repeat use: A device that strains your eyes or neck won't become part of your routine, no matter how good the specs look. If possible, try the device for at least 10 to 15 minutes before purchasing.
- Power planning: Cold weather, long sessions, and recording features all affect runtime. Match battery capacity to your longest typical session, then add a safety margin.
- Recording and connectivity: These features add cost and complexity. Pay for them only when they directly support your workflow, such as documenting wildlife behavior or reviewing security incidents.
Start with a clear understanding of your primary use case. Then match device capabilities to that scenario rather than chasing the highest specifications. The best night vision setup is one you'll actually use consistently, whether that's a handheld monocular for property checks, a helmet setup for active movement, or goggles for extended navigation.
FAQs
Q1: Can digital night vision see through glass (windows or car windshields)?
Often, no. Glass reflects infrared light into the device, creating glare and a washed-out image. If you must view through a window, turn off the IR illuminator and rely on ambient light, or open the window for best clarity.
Q2: What’s the difference between 850nm and 940nm IR illuminators?
850nm IR usually gives a brighter image and longer usable range, but it often shows a faint red glow from the emitter. 940nm IR is more discreet and harder to detect, but it typically looks dimmer and reduces overall range.
Q3: How do rain, fog, or high humidity affect digital night vision?
Moisture in the air scatters both light and IR, so rain, fog, or heavy humidity can reduce clarity and effective range. Use the lowest IR power that still helps, keep the lens dry, and expect more noise and less detail.
Q4: How much storage do I need for night vision video recording?
Video storage adds up fast. As a rough guide, 1080p recording can use about 1–2 GB per hour, depending on the codec and bitrate. Bring a larger microSD card, label files, create folders, and back up important clips regularly.
Q5: What’s the fastest way to test a night vision device before buying?
A quick test is simple. Pan left and right to feel the delay, then point at a bright light to see how quickly the highlights recover. Check dark corners for detail, start recording to watch stutter, and wear it for 10 minutes.

Leave a comment
This site is protected by hCaptcha and the hCaptcha Privacy Policy and Terms of Service apply.