
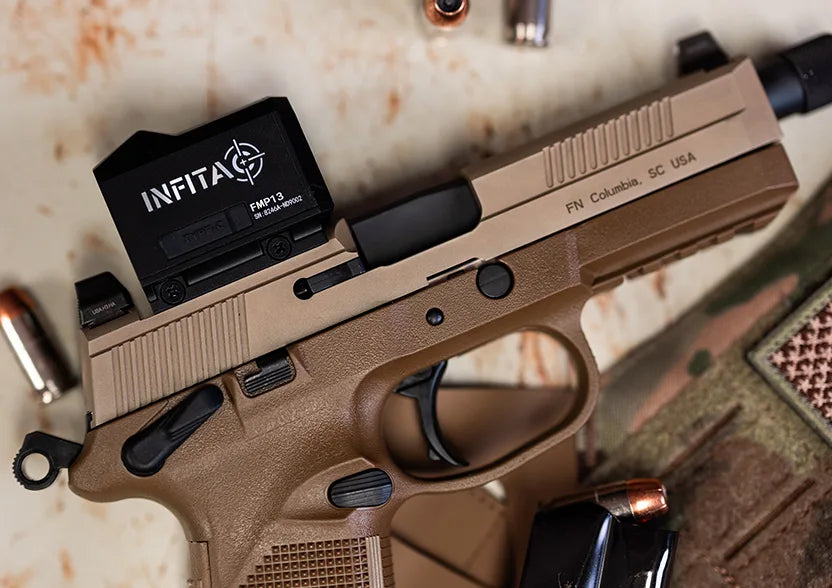

Pairing a magnified optic with a non-magnified red dot sight is an effective way to prepare a rifle for targets at any distance. This dual-optic setup provides a solution for both long-range precision and immediate close-quarters aiming. Once you decide to add a secondary sight, the most important question becomes how to mount it. The two primary methods are the offset mount, which places the dot at an angle next to the scope, and the piggyback mount, which stacks it directly on top. Each choice fundamentally changes how the rifle handles, and understanding their pros and cons is key to building a system that works for you.
What Are Offset and Piggyback Mounts?
Before comparing performance, it's essential to have a clear definition of each mounting system. Though they accomplish the same goal of providing a secondary aiming point, their form and function are fundamentally different.
The Offset Mount
An offset mount places a red dot sight on a dedicated platform angled between 30 and 45 degrees relative to the primary optic. To utilize the red dot, the shooter simply rolls or cants the entire rifle inboard, bringing the dot into their natural line of sight. A significant advantage of this method is that the shooter's head position and cheek weld on the stock remain largely consistent with their normal shooting posture. The movement is rotational, involving the arms and torso rather than an independent motion of the head.

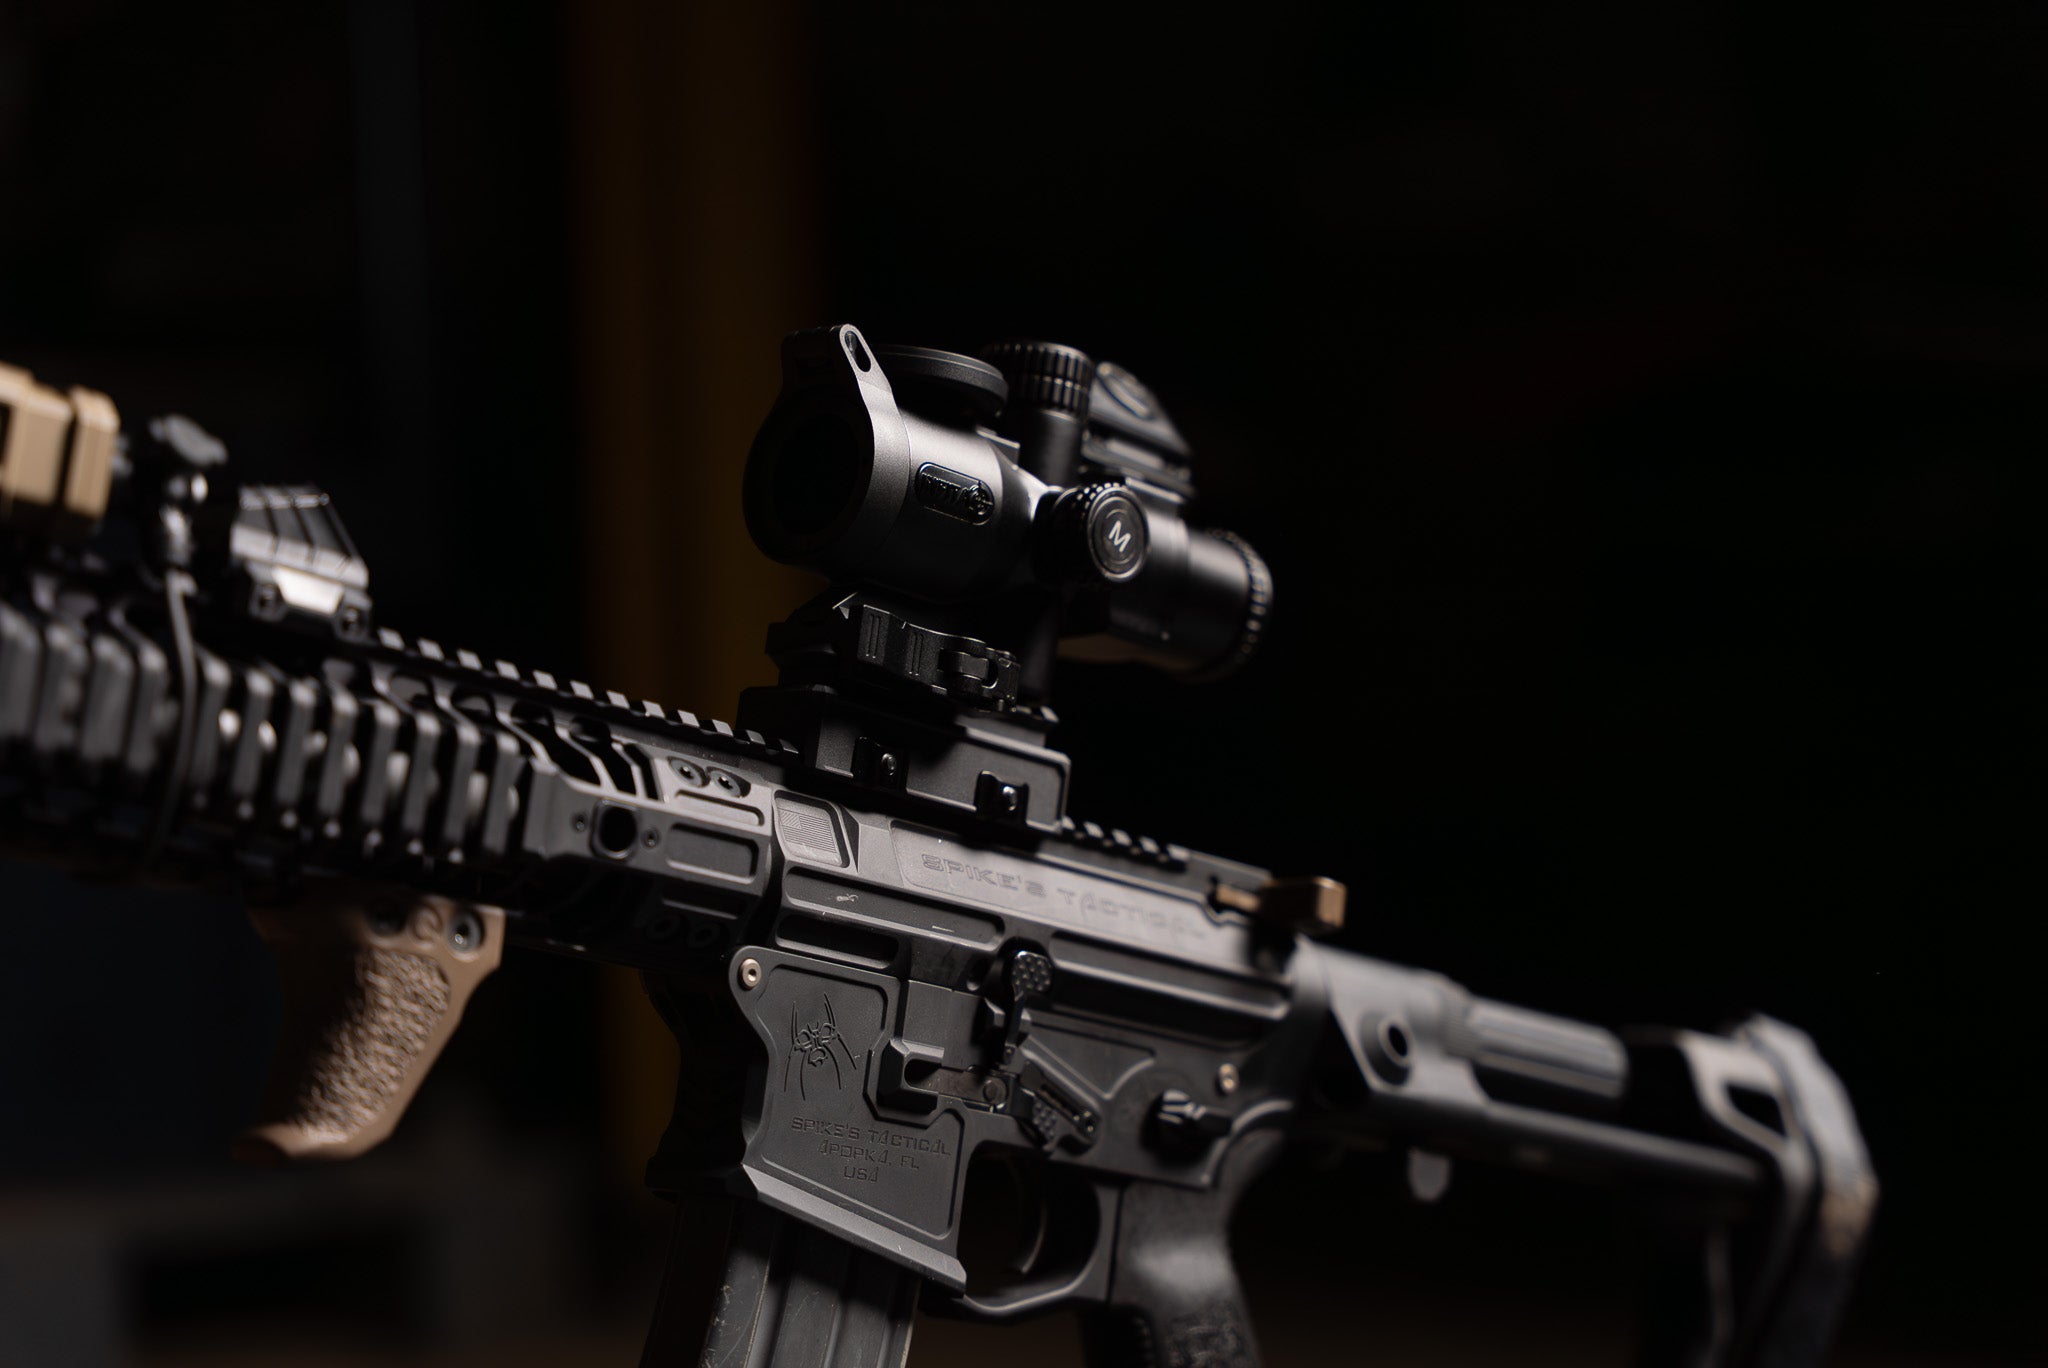
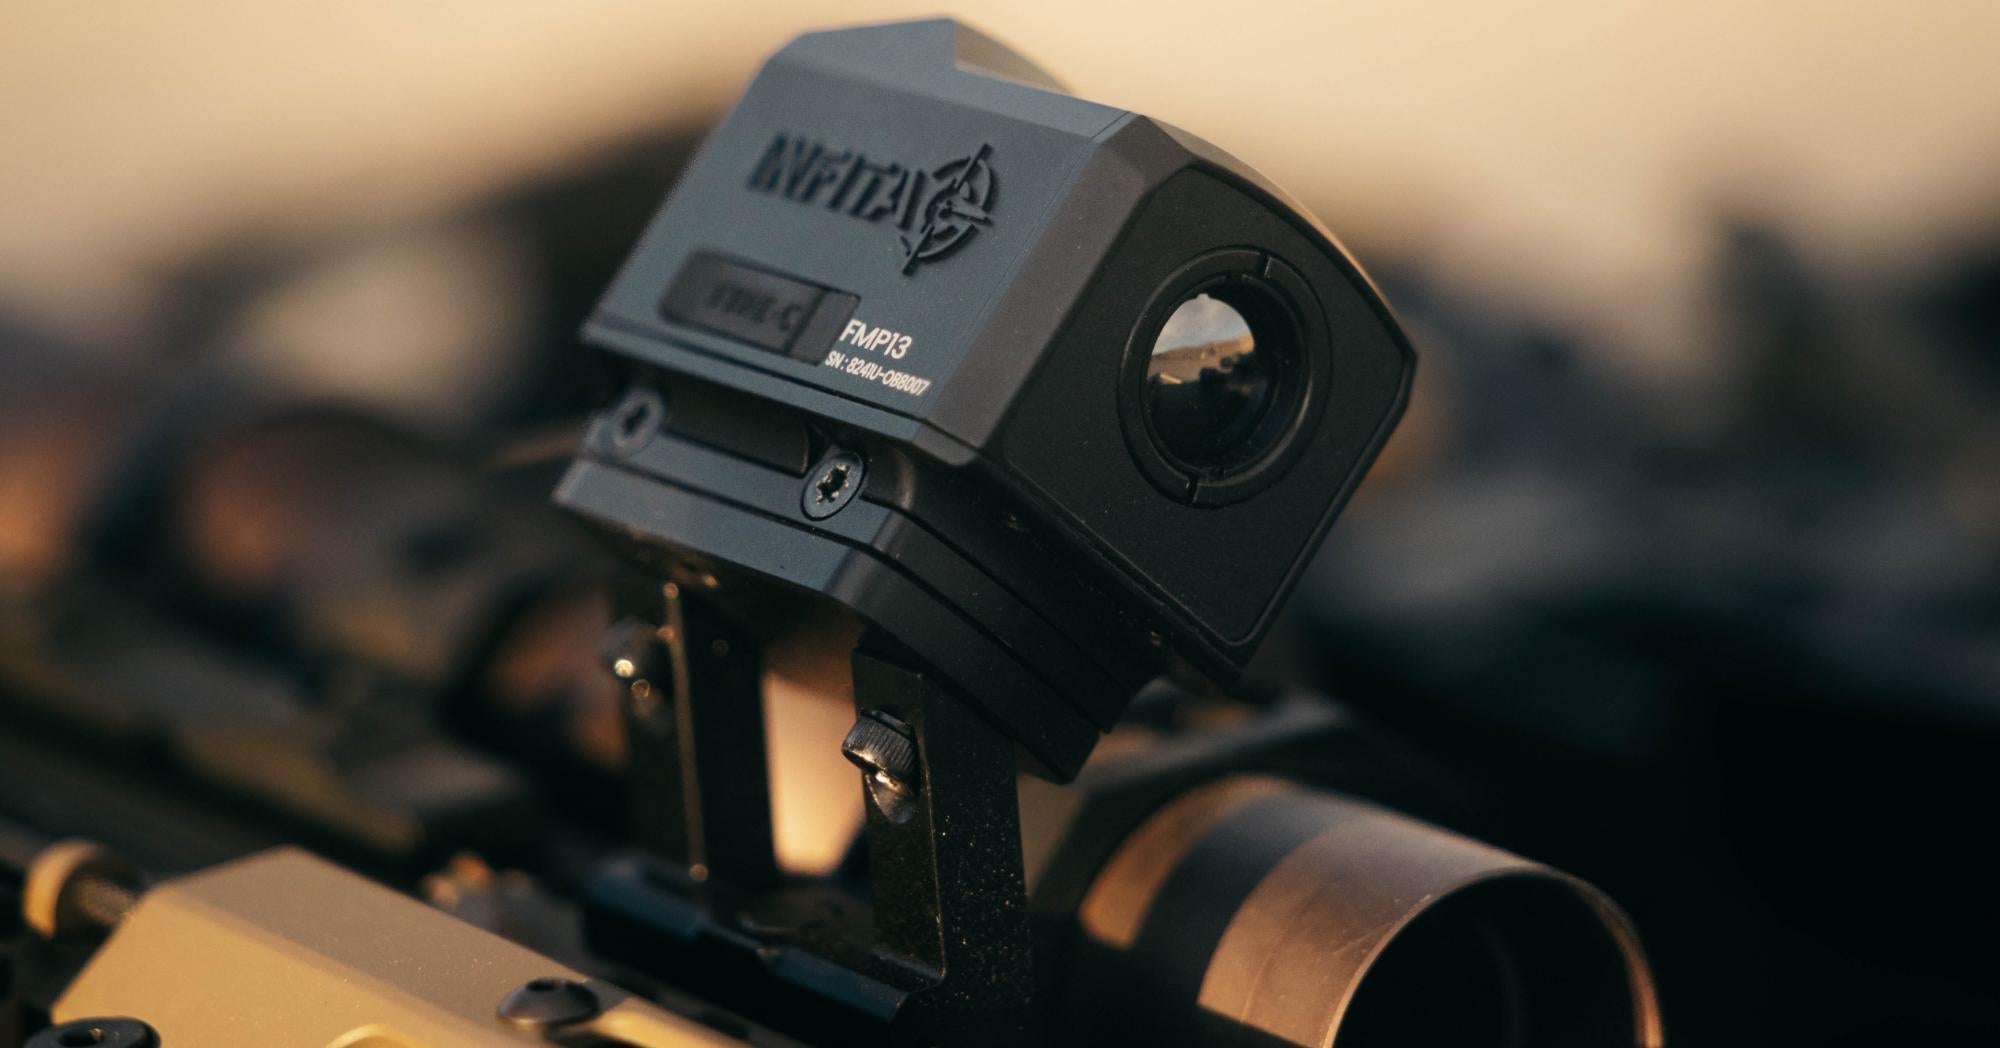
The Piggyback Mount
In contrast, a piggyback mount positions the red dot directly on top of the primary optic's main tube or, more commonly, on a specially designed scope ring. Accessing this sight requires a distinct physical shift. The shooter must lift their head from their established cheek weld to a higher, more "heads-up" posture to look through the top-mounted dot. This creates a different point of contact, often referred to as a "chin weld," and fundamentally alters the shooter's posture compared to using the magnified scope.
Offset vs. Piggyback Mounted Sights: The Head-to-Head Comparison
The best way to see the differences between offset and piggyback mounts is to compare them directly across key areas of performance. Each system requires a trade-off, and what works best depends entirely on how you plan to use your rifle.
Speed of Transition
The offset mount is generally faster. Switching to the red dot requires a simple and natural roll of the rifle, a motion that becomes fluid with practice. Because your head stays planted on the stock, the movement is minimal. The piggyback mount requires lifting your head up and then settling it back down, which involves more movement and can feel less intuitive, making it slightly slower.
Advantage: Offset
Ergonomics & Shooting Posture
This comes down to personal preference between stability and comfort. The offset mount keeps your cheek weld consistent and stable, which helps with repeatable accuracy. However, holding the rifle at a tilt can feel awkward to some. The piggyback mount promotes a comfortable, "heads-up" posture that gives you better awareness, especially with a helmet on. The trade-off is a much less stable "chin weld."
Advantage: Offset for stability, Piggyback for heads-up comfort.
Shooting from Barricades & Cover
When shooting around corners or cover, the piggyback mount is more versatile. Since the red dot is on top, it's unlikely to be blocked by a wall or barricade, no matter which side you're shooting from. An offset mount can be a problem here. If your dot is on the right, it will be blocked when you try to shoot from the right side of cover, forcing you to expose more of your body.
Advantage: Piggyback
Profile & Snag Hazard
An offset mount makes the rifle wider, creating a profile that's more likely to snag on gear, branches, or door frames. A piggyback mount makes the rifle taller, which can be an issue when moving under low obstacles. You have to decide if you prefer a wider rifle or a taller one.
Advantage: Tied. Each has a different snag risk.
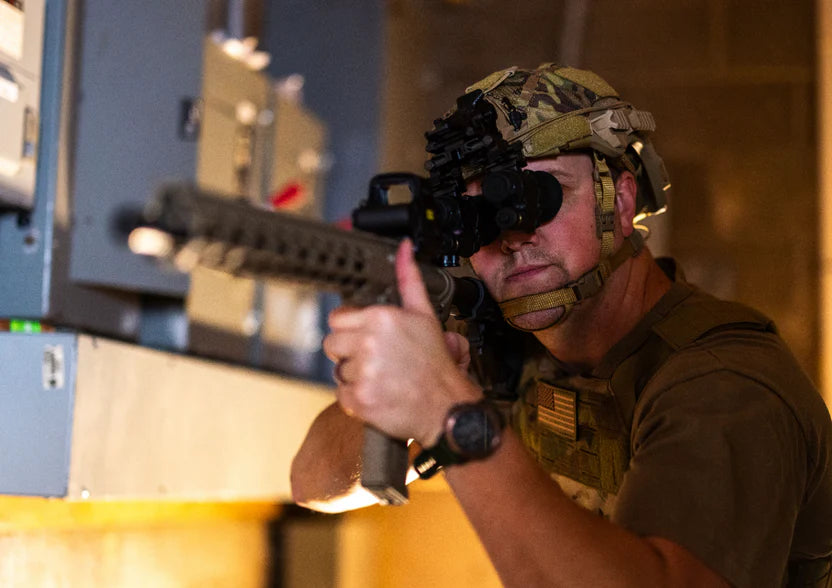
Use with Night Vision
This is the clearest win for the piggyback system and its main selling point. The "heads-up" posture of a piggyback mount perfectly aligns with helmet-mounted night vision, making it easy to aim passively. Using an offset mount with night vision is extremely awkward, requiring a severe head tilt that isn't practical.

Advantage: Piggyback (by a large margin)
Height Over Bore & Holdovers
Height over bore affects your point of aim at very close distances. An offset dot sits fairly low, similar to a primary red dot, so the adjustments needed (holdovers) are minimal and easy to learn. A piggyback dot sits very high above the bore. This requires you to aim significantly higher than your target at close range, which demands much more training to master.
Advantage: Offset
Comparison at a Glance
| Performance Metric | Offset Mount | Piggyback Mount |
| Speed | Faster (Simple rifle roll) | Slower (Requires head lift) |
| Shooting Posture | More Stable (Consistent cheek weld) | More Comfortable (Heads-up posture) |
| Use from Cover | Can be easily blocked | More Versatile (Clear on both sides) |
| Snag Risk | Wider Profile | Taller Profile |
| Night Vision Use | Impractical and awkward | Ideal (Perfect alignment) |
| Close-Range Aiming | More Intuitive (Minimal holdover) | Requires significant training |
So, what does this all mean? The data and the table make one thing clear: there is no single "best" mount. The choice involves a direct trade-off, primarily between speed and night vision capability.
Use Case Scenarios: Which Mount is for YOU?
This last step is one of finding the system that is most appropriate for you. Read the two profiles below and determine which is more appropriate for your situation.
Profile 1: The Offset Mount User
You probably compete in 3-Gun or target shooting with an emphasis on speed. To you, the shot timer is public enemy number one. Being able to swap optics with a flick of your wrist is of the utmost importance, as a fraction of a second can make all the difference in the outcome of a match. You like the firm and solid cheek weld as it gives you the most stability and recoil control, which you need for quick and accurate follow-up shots. You usually shoot in a controlled environment, so the rifle's wider shape does not matter, and you do not need night vision for your sport.
Profile 2: The Piggyback Mount User
You are probably a professional specialist, a dedicated night hunter, or a rifle enthusiast who values versatility. Your rifle is a tool in unclear situations where technique is more important than outright speed. Your capability to fire with a helmet-mounted night vision is critical to your needs. You need a system that functions well when shooting from one side of an obstacle or through a small opening. You employ the "heads-up" position for its improved situational awareness and understand that expertise with special equipment—including substantial close-range aiming corrections—requires a significant training investment.
Before You Buy: Three Final Checks
You've decided between offset and piggyback, but don't click "add to cart" just yet. Run through this final checklist to make sure all your components will work together seamlessly.
1. Check Your Main Scope
The scope you already own can limit your options. Large, tall adjustment turrets can get in the way of a piggyback red dot's sight picture. Similarly, some high-end scope mounts are designed to only accept their own brand of secondary mounts. Double-check that your scope and its mount have the physical space and compatibility for the system you want.
2. Don't Skimp on the Mount
This is critical: your secondary optic is only as good as the mount holding it. A high-quality mount from a reputable manufacturer is a necessary investment to ensure your red dot holds zero. Cheaper mounts often fail due to poor materials, loose tolerances, or weak hardware that can't withstand recoil. A mount that won't stay zeroed is worse than no sight at all.
3. Consider the Red Dot's Style
The type of red dot you choose impacts the whole system. There's a key trade-off here:
- Closed-emitter sights are extremely durable and protected from rain or mud, but they are also bulkier.
- Open-emitter sights are smaller and lighter, but the projecting laser emitter can get blocked by debris.
Consider how this bulk affects your choice. A bulky, closed-emitter sight might make an offset setup feel even wider, while a compact open-emitter on a piggyback mount creates less of a tall "tower" on top of your scope.

Align Your Gear with Your Mission!
The choice of an offset mount or a piggyback mount depends on what you want to have more: general capability or speed. If being super fast when switching between targets is the most crucial thing to you, then the offset mount is better. If you want a system that is handy when utilizing night vision and from any position while firing, then the piggyback mount is the way to go. Instead of trying to find that one mount to rule them all, just pick the system that suits the shooter you are best.
FAQs About Offset and Piggyback Mounted Sights
1. Can I install an offset mount on the left side of my rifle?
Yes, you absolutely can. Many manufacturers produce ambidextrous or left-side-specific offset mounts to accommodate left-handed shooters or those who prefer to transition to their support side. The principle remains the same; you simply roll the rifle the opposite way to acquire your dot. When purchasing, just make sure the model you choose is either reversible or specifically designed for left-side mounting.
2. Is a piggyback mount only useful if I have night vision?
Not at all. While the piggyback mount excels with night vision, its "heads-up" posture is also favored by many shooters for enhancing situational awareness, even in broad daylight. This setup forces you to lift your head and see more of your surroundings. Furthermore, its superior performance when shooting from behind barricades or cover makes it a versatile choice for any shooter who values that flexibility over the raw transition speed of an offset mount.
3. I wear prescription glasses. Does that make one mount better than the other?
It can. For users with bifocal or progressive lenses, the offset mount is often a better choice. Because it keeps your head in a consistent position on the stock, your eye remains within the same focal zone of your glasses when switching between the scope and the red dot. The piggyback mount requires you to lift your head and change your viewing angle, which can be disorienting or force you to look through the wrong part of your prescription lenses.
4. How do you "zero" a secondary red dot sight?
You zero a secondary red dot independently from your primary scope, and usually for a much closer distance. First, ensure your main scope is accurately zeroed at its intended range. Then, pick a typical close-quarters distance for your red dot. From a stable shooting rest, fire a three-shot group at a target and adjust the red dot’s elevation and windage dials until your point of impact aligns with your point of aim at that chosen distance.
5. Are closed-emitter or open-emitter red dots better for these setups?
Neither is strictly better, as it's a trade-off between durability and size. Closed-emitter sights are tougher and protected from elements like rain and mud, but they are also bulkier. This added bulk can make an offset mount feel wider and more prone to snagging. Open-emitter sights are smaller and lighter, creating a lower-profile package, but the exposed laser emitter can get blocked by debris. The best choice depends on whether you prioritize maximum durability or a more streamlined rifle profile.

Leave a comment
All comments are moderated before being published.
This site is protected by hCaptcha and the hCaptcha Privacy Policy and Terms of Service apply.