

Installing the PM01 mount on your rifle is a straightforward process if you follow the manual’s instructions. This guide will walk you through the installation steps to ensure your mount is secure and stable. Let’s get started!
What You'll Need
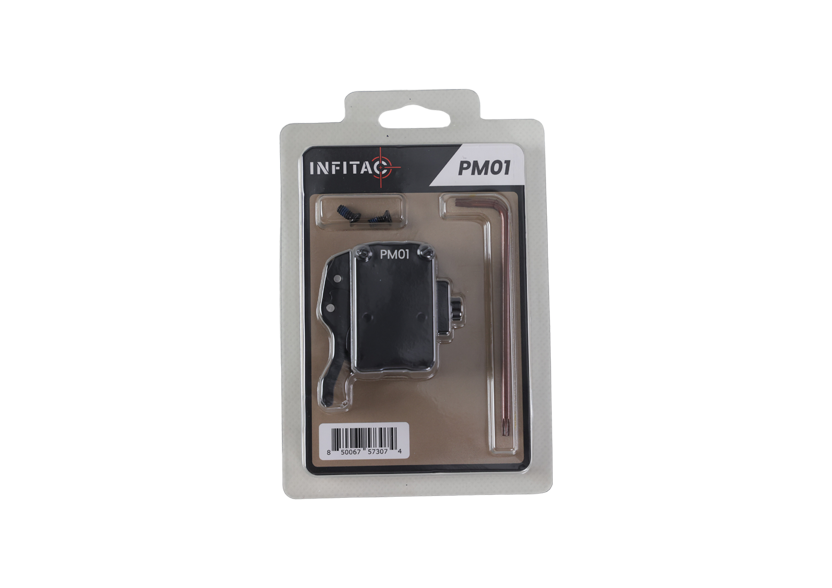
● PM01 Mount
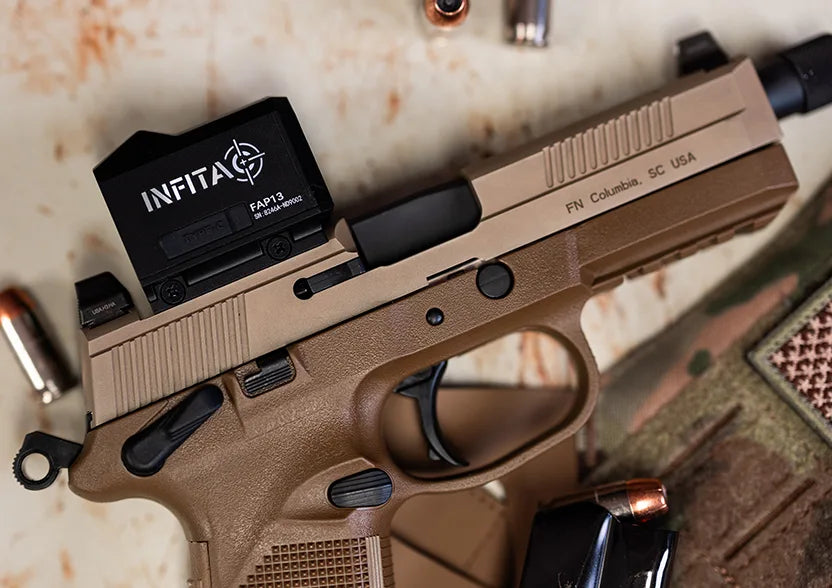
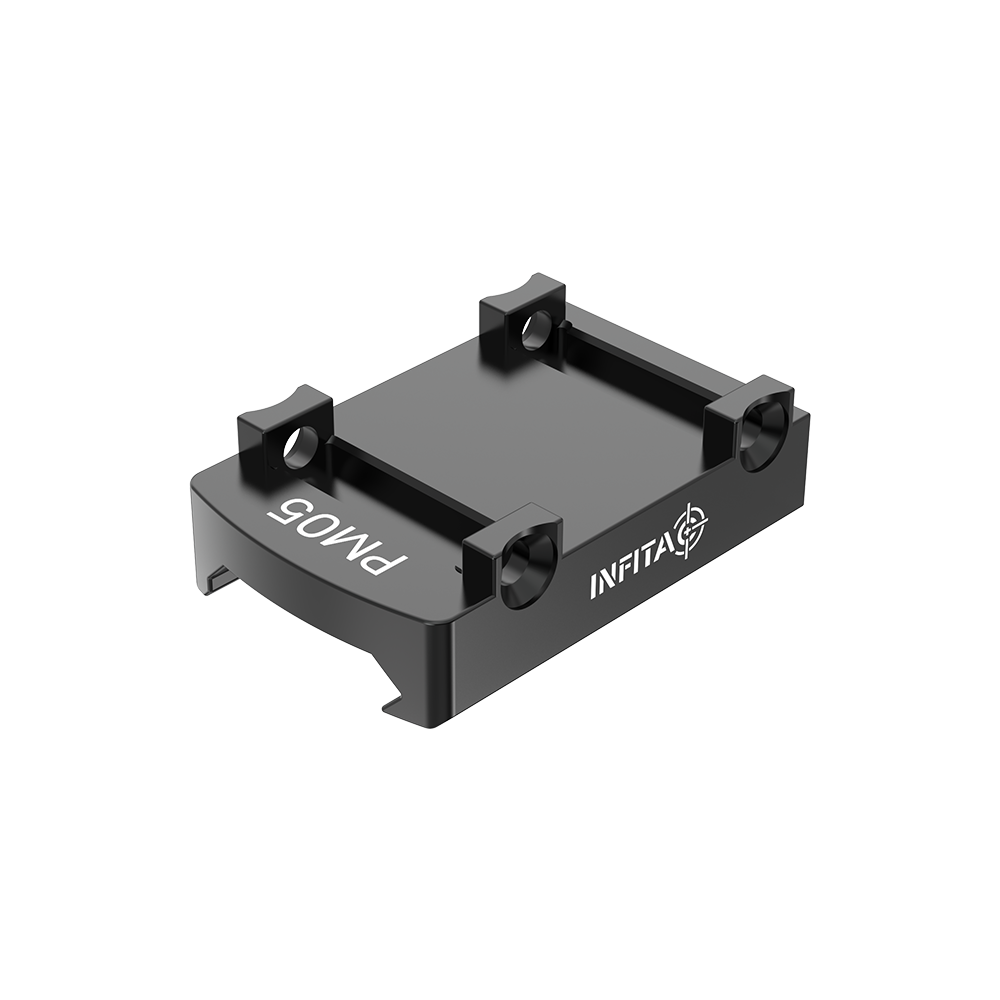
● FMP13 Sight (to be installed on the PM01)
● Blue Loctite 242
● Torque wrench (set to 20 in/lbs)
● Basic tools for tightening screws

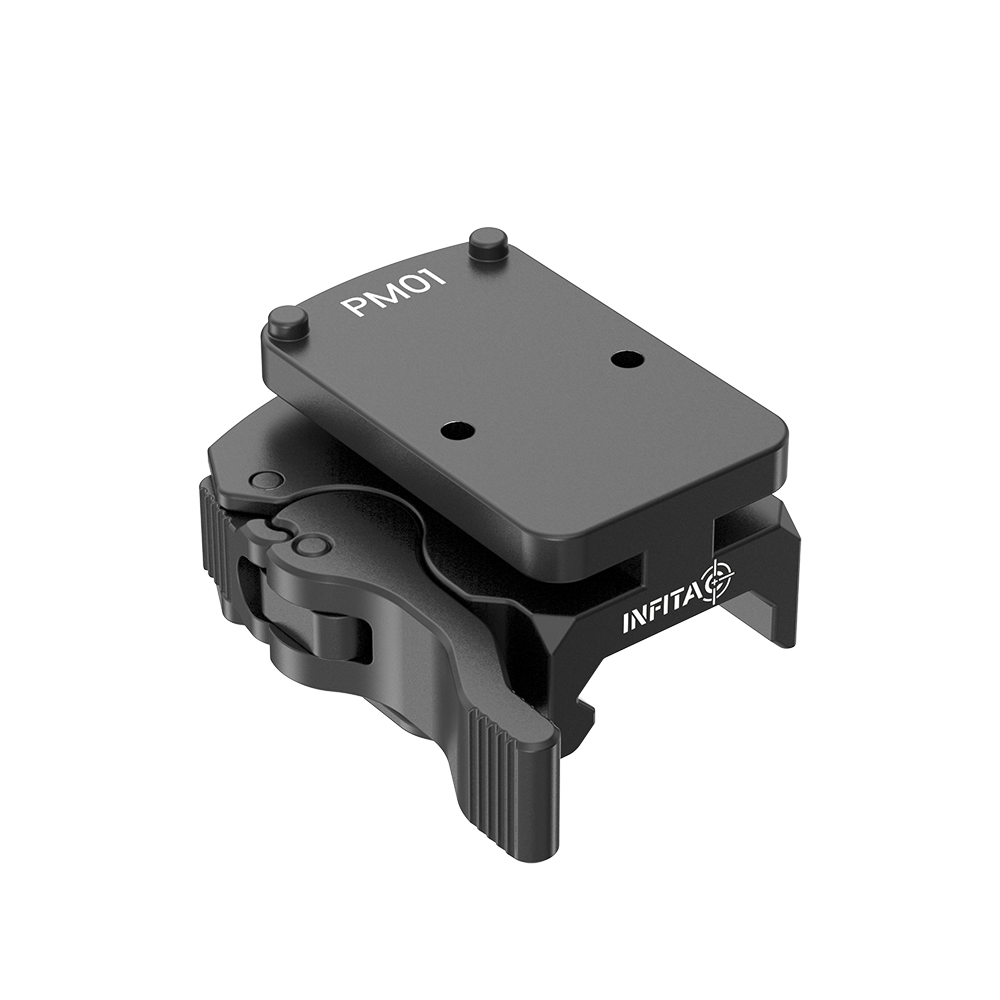
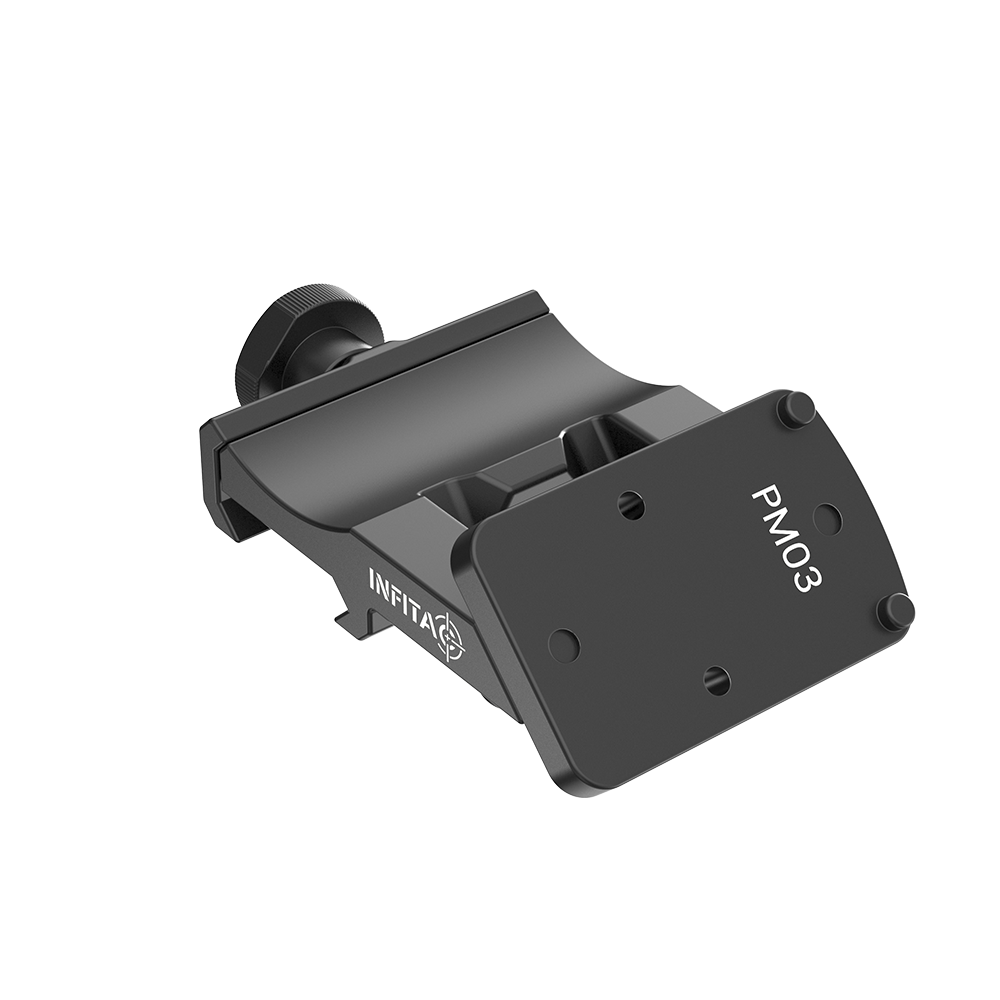
PM01 Picatinny Rail Mount
Installation Steps
1. Prepare the FMP13 Sight
Before attaching the PM01 mount, you'll first need to install the FMP13 sight onto it.
Note: Apply a small amount of blue Loctite 242 to the threads of the screws that will hold the sight to the mount.
● Use a torque wrench to tighten the screws to 20 in/lbs.
● Allow the threadlocker to dry completely before proceeding to the next step.
2. Attach the PM01 to the Picatinny Rail
Once the sight is securely attached to the PM01, you can install the mount onto your rifle's Picatinny rail:
a) Open the Throw Lever
● Press the locking button (1) and pull the locking lever (2). This will open the throw lever and prepare it for installation.

b) Position the Mount
● Align the PM01 mount with the Picatinny rail on your rifle.
c) Secure the Mount
● Push the locking lever down until it clicks into place. You should hear a definite click from both the lever and the locking button, indicating that the mount is securely locked.
3. Check Stability
After installation, it’s essential to check whether the PM01 is stable:
● Gently shake the mount to test for any movement. If you notice any shaking or instability, proceed with the next step.
4. Adjust the PM01 (if necessary)
● If the mount is not stable, remove the PM01 by pressing the locking button and pulling the lever again.
● Find the adjusting screw (3) on the PM01. Tighten this screw to eliminate any play but do not unscrew it completely, as this may cause internal parts to pop out.

Note: Please do not unscrew the adjusting screw completely to avoid the internal spring popping out.
● Reinstall the PM01 by following steps a) to c) again in step 2.
Final Check
Once reinstalled, check once more for stability. It should be firmly attached to the Picatinny rail with no shaking.
Important Notes
● Always ensure that the threadlocker is completely dry before further handling.
● Do not over-tighten the adjusting screw to avoid damaging the internal mechanisms.
Conclusion
By following these steps, you should have your PM01 mount installed securely on your rifle, ready for use. Enjoy your shooting experience with the confidence that your mount is properly installed!If you have any questions or encounter any issues during the installation, please feel free to reach out for assistance at support@infitacusa.com. Happy shooting!
1. What tools do I need for installation?
It’s best to use a torque wrench set to 20 in/lbs; if you don’t have one, the basic tools included in the packaging can also be used for tightening the screws. Additionally, make sure to have a bottle of blue Loctite 242 to secure the screws.
2. Can I install the PM01 mount without professional help?
Yes, the PM01 mount is designed for easy installation. As long as you follow the step-by-step guide provided in the manual, you can install it yourself without needing professional assistance.
3. How do I know if the PM01 is securely attached?
Once installed, please shake the mount. If there is no noticeable movement or play, the mount is securely attached. You should also hear a definite click when the locking lever is engaged.
4. What should I do if the PM01 mount is unstable?
If you notice instability, remove the mount and check the adjusting screw on the PM01. Tighten it slightly and reinstall the mount. Ensure all screws are tightened to the specifications mentioned in the manual.
5. Is threadlocker necessary for installation?
Yes, using blue Loctite 242 on the screws helps secure them and prevents loosening due to recoil. Make sure it is dry before using the mount.


Leave a comment
This site is protected by hCaptcha and the hCaptcha Privacy Policy and Terms of Service apply.